Sunday, July 8, 2012

Sneak Peek

Brent and I have really been busy bees lately.  The kitchen isn't quite done yet-- we still need to seal the grout of the back splash, caulk around the tile, get a better curtain over the window and put some shelves in and such. Here is what we have done so far.

The first thing we did was fix the wall where the 4" laminate back splash was ripped off.  Brent mudded it (is that a technical term??) and then started tiling. Here he is in that process:
look at the beautiful wallpaper border and paint color we uncovered!! ah!


Sadly, we didn't have a wet saw for the tile, so a lot of the cuts are kinda sketchy.  I bought some ginormous outlet covers online to help hide the weird tiles around the outlets and switches-- they helped a lot! We then had the wonderful job of grouting the tile.  We went to the 'Deep and bought all the lovely tools, but quickly realized this was going to be a really dirty job... It was so hard to get the sanded grout to stay in the grout lines, that we eventually had to just slap on the grout with our hands... When we were finally done, it looked like a sandcastle had exploded in our kitchen.  We also had severely over-exfoliated hands for about 2 weeks.  We were never really happy with the grout color, even after it dried, but it will do for now.  All along the way, my motto has been: if I still don't like it in a year, I will do it again. 

We then had to tackle the awful, outdated, way-too-bright flourescent light over the peninsula.  When Brent took the light down, this is what was underneath:
Awesome!.....

He tried to put a support bar in for the new light inbetween the joists in the ceiling.  Standard length is around 16"-24". Ours, of course, is 13.5", so Brent had to find another way to do it.  He put in a junction box, then patched the hole and mudded over it.


I was really impressed, as this was his first time doing anything like this. The light really turned out well!


Here is the (not so) lovely kitchen the day we bought the house:


And here is where we are with it today:

(ignore the ugly curtain)

We're still trying to figure out where to put all of our stuff and how we want the kitchen organized, but thanks to my wonderful mother, the dining room has gone from this:
To a place where we can actually sit and eat! (Thanks, Mom!)


Monday, June 18, 2012

We're In!! (kinda....)

Well, we have moved into the house, and it is a MESS! We have stuff everywhere and so many things on our to-do list.  We have still made some time to paint and do a couple other things, but not as much as we would have liked! Here are a few of the major changes that have happened recently.


Here is a before photo of the master bedroom:
Note the tangerine orange.
Here's a zoomed-in view of the safari valence...
I've always had a wish to have a blue-gray bedroom with white linens and hardwood floors.  Here is my chance! We obviously started with taking out those DRAPES! Fast-forward to the after:


SUCH a big difference with a couple coats of paint.. I can't get over how different the room feels.  I will take better pictures once our bed and dresser and boxes are not in the middle of the room.    

Oh, and we have FINISHED the den!! We still need to get the big doors painted and up, but we aren't missing them at all right now.  This is our favorite room in the house, and it was by far our least favorite when we bought it.  Here it is before:
 And after:
 I feel like this picture doesn't even do the room justice.  For most people who come to our house, this will just feel like a normal room-- what's the big deal? But to us, it is the first room that we have seen our ideas actually happen! It feels so good to be done with it! (PS- almost everything seen here is from Craig's List! Love it.) Oh, and here is the fireplace before and after:


We have also made strides in the kitchen. It's definitely not done.. We need to paint and tile the back-splash, but it's already so different, I just have to share. 


Before:
Green laminate, nasty cooktop, and GOLD handles (again with the brass?!)
Progress!:

We're going to paint the walls a light bluish-green (thanks for the suggestion, Trent!) and are planning to do a limestone-esque backsplash.  This has been an interesting process... The installation was delayed a couple times, and once it did get done, we then had to get a plumber to come out to hook up the sink.  Well, apparently plumbers don't really come when you need them, which we didn't know.  We have now been 5 days without a kitchen sink and with a dishwasher full of half-wet, dirty dishes (that's a WHOLE other story!). I think they are coming to hook everything up tomorrow and hopefully we will have some dishes soon! Oh, and I cannot end this post without thanking our friends Trent and Camden for their help priming the ex-wallpaper walls. Can't wait to get these painted. THANK YOU GUYS! :)

I will try to be better about posting updates now that things are a little more settled! Until Then!

Monday, May 7, 2012

Kiss My Brass

Phew! If y'all only knew the dedication this room is taking now! We're down to the knitty gritty in the den.  These are all the things that you don't think about when you start to redo a room.  Things like this:
 It's these little diddys that are so simple yet so time consuming to change! Here are some updated photos of our amazing den transformation:
(Ignore the broken shoe molding-- it was a casualty of removing the old register..)

This is my new favorite invention! All the outlets were a completely wrong cream color.. these outlet covers saved us so much time! All you do is screw it in over the exiting outlet.  They fit like a glove! Well worth a little extra money!

Painted brick!
We also changed out all the light switches.  We thought we knew what we were doing and went and bought two 2-way switches and two 3-way switches, but it turned out there was another random switch that had never worked before that also did the same light (which made the three of them 4-ways, ahhh!!). Brent got some great help at Home Depot (fondly known in our house now as "The Deep") on how to tell what's what.  I never knew these terms would be in my vocabulary! All the light switches work perfectly now which is a good thing because...drum roll please... remember this guy??
So gross.
We did one of my LEAST favorite things.. changed out the awful brass track light! It was (surprise..) full of dust and spider webs.  We debated about what to replace it with and decided on another track light (the electrical is all over on one side, so a normal over-head light was not a great option).  Why is this process always so much harder than you think it will be? But, as always, the end result was so worth it!
 We really hope to have this room completely done soon.  I am really anxious to get the fireplace doors back on, and we can't forget to paint the built-in doors and the actual doors.  Stay tuned for more later!

Sunday, April 22, 2012

Slow Progress


So, it's gotten a bit tougher to write posts because our visible progress has seemed to get really slow.  We have painted 435 coats of paint on the paneling and it's still looking a little stripey... anyone with any advice?? We got our first coat of white on the built-ins today and it looks FABulous! Definitely needs at least one more coat, but the difference between the dark wood and hunter green and the white is huge! Here is a "remember the before...." photo of the den: 

Here are the fresh and beautiful built-ins! (The doors will be put back on, so it will be solid white)
The cute Chelsea-sized roller I used on the built-ins! So much faster/easier than a brush!
Here are the walls now.. see how there's a faint stripe after 2 coats over the OBP? Very interesting...

I also have to give a GINORMOUS shout-out to my mom for her help with the new cooktop.  The old one worked, but it only had 2 burners, was about 20 years old, and shook the whole kitchen when the downdraft fan was turned on.  Seen here...

We bought a new one that was the same brand and size and everything that... didn't fit.  
So close...
 So, mom helped us buy a jigsaw to cut the laminate out a little bit to make enough room for it to slide down.  This was definitely a 3 person job, as the cooktop weighs about 75 pounds. It is huge when you take the large fan underneath into account.  We finally got it in and it looks really pretty.  We are planning on upgrading our counter tops to probably black granite, which I think will only make it look even prettier. Here it is in the hole:
Hi Brent!
So what's the problem now? Well, it doesn't work... We got it all hooked up and everything and... nothing.  Not a light, nothing.  The Jenn Air people are going to come take a look at it soon, so keep your fingers crossed it will work! Wedding season is about to come into full swing, so we will be pretty busy these upcoming weekends.  We will update as much as we can!

Wednesday, April 11, 2012

Vacation is Over

So, we just went to the beach this weekend with Mom for Easter and it was really great to get away for a little bit.  No house work for a whole 3 days! Woohoo!

But, the vacay is over and, today being my day off from work, it was time to get back to business.  We were there for 10 hours today, but spent the entire morning waiting for a Groupon cleaning crew to show up that never came (surprise) so we lost a lot of working time.  No fret, they are scheduled to come back tomorrow morning! We finished priming the whole den, aside from the built-in cabinets and it looks so good! The fireplace wins the award for the biggest transformation. Here are some photos of the progress!

HUGE fatty roller-- I called it "the lamb leg"
Whoa! SUCH a difference!
Brent primed all of the window trim! (Keep ignoring the brass track lights...)
Door trim primed
I cannot wait to get paint on these walls! I think the color (you can see some swatches on the ground in the last photo- I don't know how to pick!) is going to really finish the room.  A simple color on the walls, and a little semi-gloss white on the brick and trim and this is going to be a warm and inviting room!

Wednesday, April 4, 2012

We are officially in full-swing with the den now.  Whoever thought wood paneling was a good idea was a total weirdo.  Do people still like this stuff? It feels SO GOOD to paint over it!! Every roll of OBP I do over the stuff I silently say "take that!" in my head.  Brent spent most of the day yesterday getting the seams and molding primed with a brush and I went back today to finish rolling the primer on.  We splurged and bought odorless oil-based primer for this project ($5 more than the original Kilz) and it was definitely worth it! Here are some photos!!
All the cracks are primed and all the nail holes filled in and sanded!


Done priming!

 We are going to go back and prime the trim and the big window in the room- we thought it might be nice to take this one step at a time! It already looks better!! Now, about that BRASS (again, who liked this...) fireplace surround! The insert itself is so super nice-- really heavy and very expensive to replace.  It has glass doors and screens, and I really would hate to have to buy a new, better-looking one.  So of course, I decided to try to fix it! I started by taking off the glass doors (with my head in the fireplace getting covered in soot) and lightly sanding the brass so it wasn't so shiny.  I went to Home Depot and got some cover paper and High Heat spray paint.
In matte black

I covered up the brick as best I could, but quickly realized I couldn't get the sides of the insert sprayed well enough with paper on.  We are going to prime and paint the fireplace white anyway, so I thought it would be ok to just spray the brick on the sides.  The hardest part of this project was putting paper in the fireplace hole.  I'm not sure if we'll ever actually use it, because I think I will be forever scared of spontaneous combustion!! Here it is after 3 coats:


 It's hard to see it well since I haven't removed the paper yet and it's all over the brick, but talk about an instant transformation! It looks brand new.  Little did I know there is apparently "spray paint dust" that comes along with spray painting inside.  I looked down at my feet and this is what they looked like...

...so I tried to clean up the best I could! Also, since I was inside, you can imagine that this is what I looked like all day:
Gotta love (hate) those spray paint fumes!

But this was my beautiful spring view for the day, which helped:

One last update.  I got the handles that I ordered from Target.com for the laundry room.. What do you think??

We are heading to the beach tomorrow night for a little R and R for the long weekend, which I think we will both appreciate! Can't wait to come back rested, ready to tackle the den some more! Have a happy Easter everyone!!

Sunday, April 1, 2012

Prep-Work!

So it's been a little while since I posted, mainly because we are getting a few new projects started and the prep-work is what takes the longest (and is the least fun!). We have started to tackle the super ugly fake wood paneling in the den.  What a project this is going to be! We have to paint all the trim and doors, built-ins and the windows along with the walls, so it will be a while before I can post a before and after photo of this room, but I know it is going to be a HUGE difference. Here are some in-progress pics!
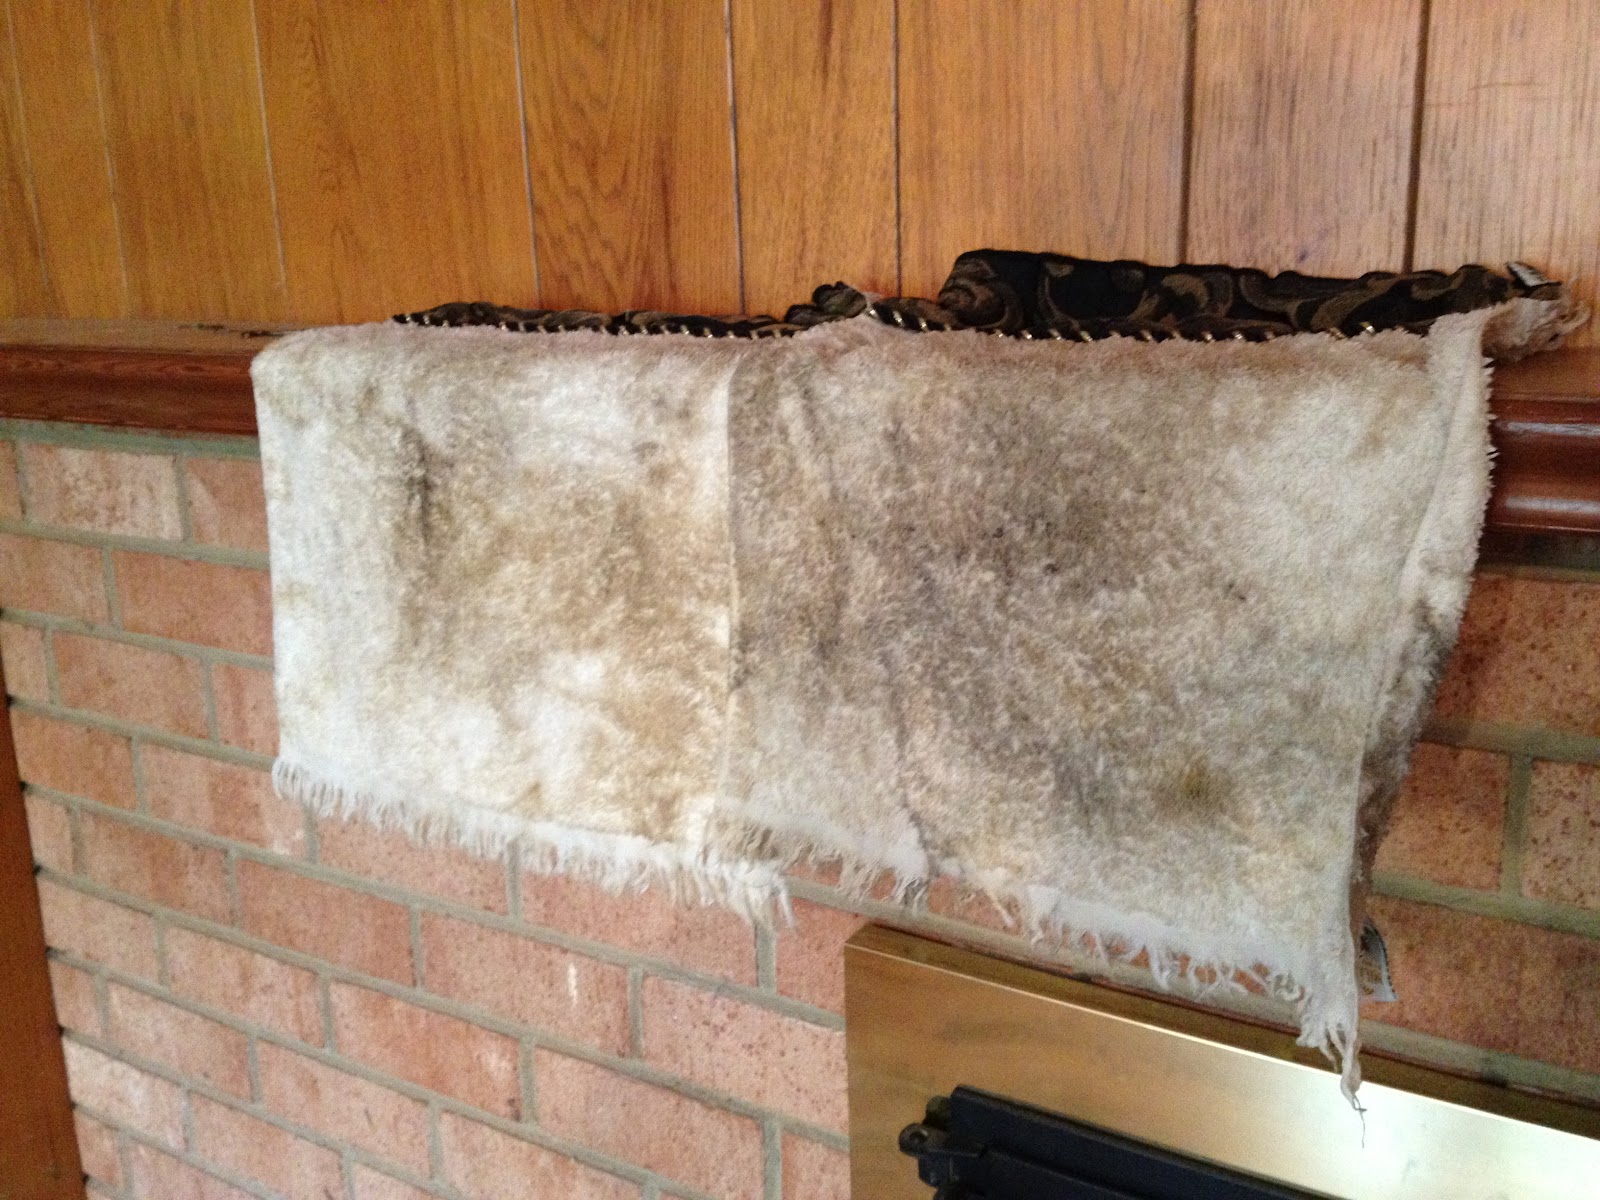
Post sanding all the trim-- this is why you wipe down the walls! (both these towels were white)

Putting wood filler in all the holes.

Even just this little bit of white makes me excited!

The drywall guys have finished their work on all the walls we removed the wallpaper from.  They patched and sanded all of that in two afternoons, where it would have taken us a week, all for under $200.  Definitely feels like money well spent.. We'll see how the walls look when they're painted tho- hopefully not too lumpy!

The laundry room still isn't done (I special ordered some cabinet handles from Target and they still haven't shipped!) but I'm just so excited about the difference, I want to show some before and almost-after photos. 
Before. It really is hard to see how nasty this room was!

Our $5 reject paint from Lowe's!

New paint on all the built-ins

Beautiful new washer and dryer! (we went ahead and bought these cause I got them for a GREAT deal!)
Be sure to come back for complete after pictures-- I am so excited about this room (maybe because it's small and I feel like I can actually complete it!).